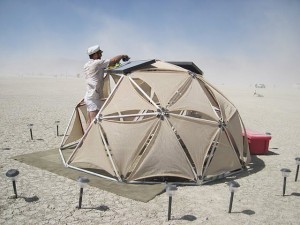
Outside view of HearBeat Dome with Lex Kravitz dusting off the panels
Bill of Materials
Space Climber Dome, 5’ diameter, Amazon
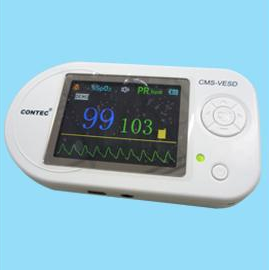
Oximeter sensor, eBay
Photo of the oximeter sensor we chose
LEDs, eBay
Sound Ordnance Subwoofers B-8P, Crutchfield
Hemisphere, 8” diameter, Industrial Plastics NYC
Salad bowl, 8” diameter, Target
Metal tube, 4” diameter, local metal supply
Electronics, mostly Digikey, see schematics
Sound modules, from this super awesome company in the Midwest. Electronics123
The first thing to do is figure out what your enclosure is going to be.
You might want to experience your heartbeat in a treehouse for example.
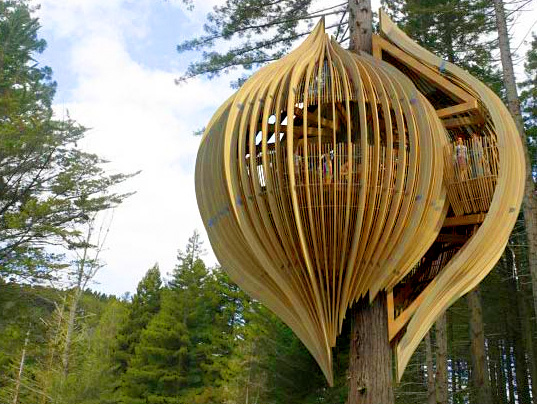
Or a small room in your house or gallery. If you were to make this for an art exhibit, it could be placed in the corner of a gallery with curtains as a border.
Really, all you need is a small, enclosed space that feels personal and quiet.
I chose to have you all experience your heartbeat in a dome because it is easy to set up in the desert.
There are lots and lots of sites online that talk about building domes from scratch. This one is pretty awesome. And so is this one.
Lex, my brother and project partner, and I looked at a whole bunch of domes and discussed many different sizes and construction types. In the end though, it worked out to be easier and faster and cheaper to buy the dome from Amazon.com
Hint: make sure you pick up some extra fasteners if you buy a dome ready made!!
The oximeter was chosen because it has a sound output. The sound output was needed because a signal was necessary to trigger off of. A transistor amplifies the heartbeat signal and triggers a small piezo beeper. I looked at the signal coming to the piezo electric beeper and it was a clear 3.3V square wave.
I used this square wave as an input to the PIC microprocessor.
The input pretty much equals the output in pseudo-code. The PIC microprocessor has firmware in it, let me know if you want the code.
The output sends a signal to trigger the subwoofers and the LEDs.
Clear as mud?
All of the electronics were hand soldered. I didn’t make a PCB board since this project was a one-off.
There are three boards: An LED controller board, a power/relay board and a brain (microprocessor) board.